How to plaster over Laths
How to plaster over Laths
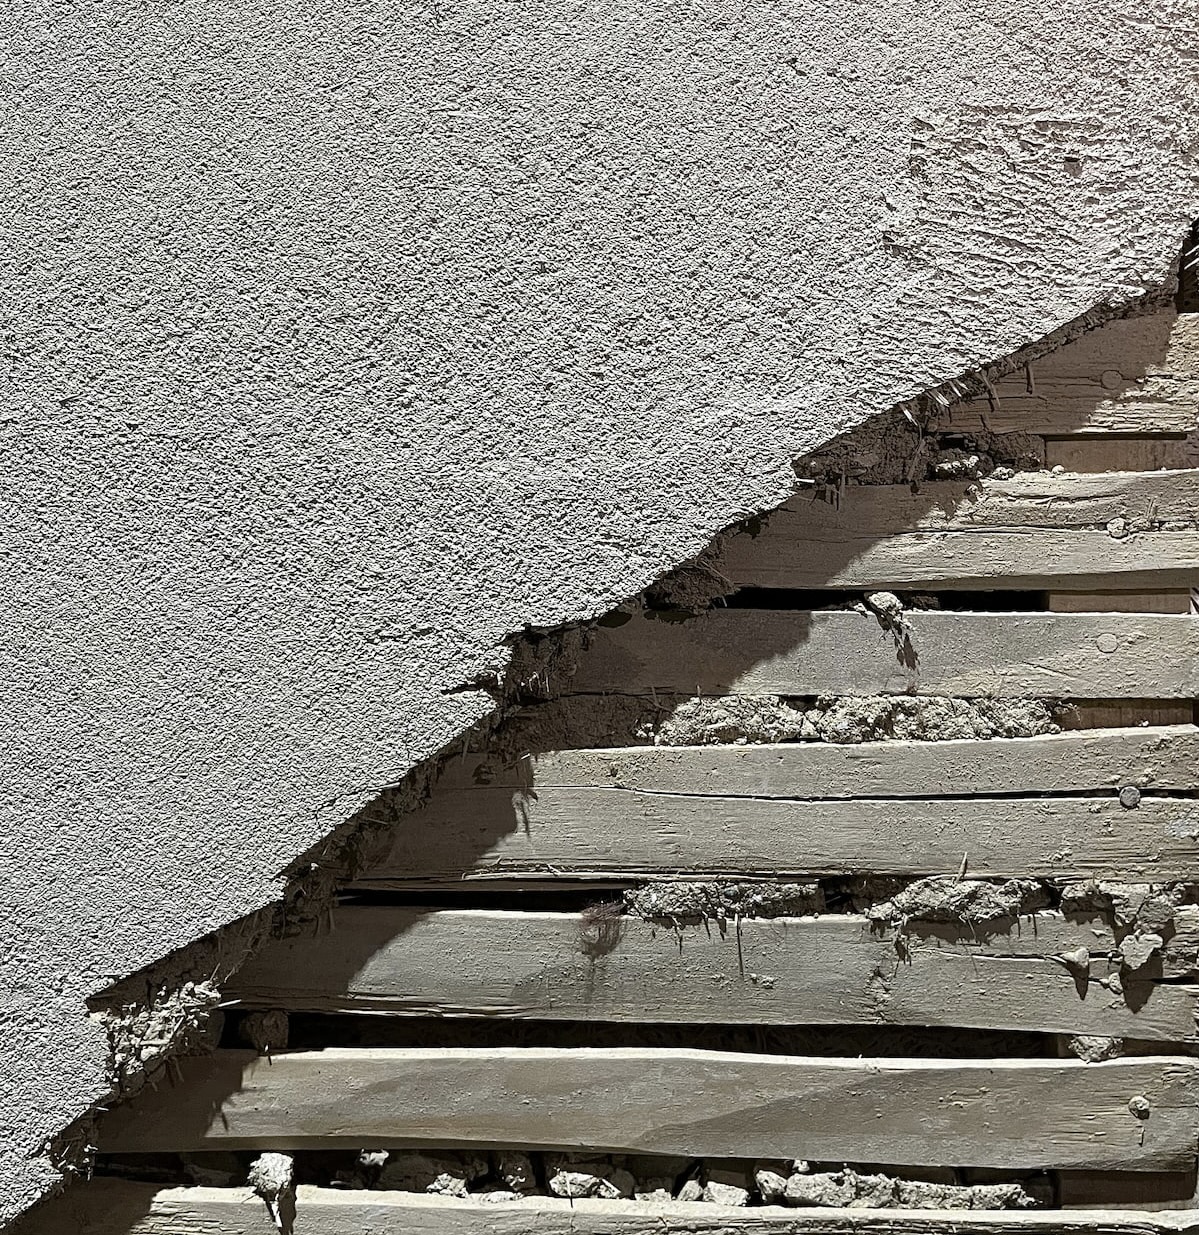
Lath and plaster work traditionally used riven oak or riven chestnut lath. These are laths split along the grain of the wood by hand. They are generally irregular in shape and thickness with a coarse surface that provides a good key. By the end of the 19th century, sawn lath produced by machinery was also much in evidence. These laths are straight and regular and provide less key to the mortar, hence the key formed by the plaster squeezed between the lath is of even greater importance. It is often seen as good practice to use sawn laths when replacing wall laths and riven laths for ceiling work. The first backing coat of lime plaster is applied by squeezing it between the lath when trowelling. This plaster coat should contain animal hair to strengthen the plaster whilst curing occurs.
Fixing Lath
It is important you stagger the lath on installation so that the ends of the laths are not all in a straight line. This will avoid introducing a weak stress line in the finished lath and plaster.
Preparation
Wet new lath the day before fixing to ensure that they tighten when they dry.
Control the suction on the day of plastering by lightly spraying with water 30 minutes before the first coat.
Example of Lath and Plaster Specification
Apply scratch coat of Coarse stuff with hair and fibres through the lath, leaving around 8mm on the surface. Do not over trowel this coat as too much plaster may be lost through the lath. Scratch this coat with a lath or scratch comb and leave to dry and cure until green hard. The plaster is green hard when it can only just be scratched. If you can make an indentation with your thumb, it is not ready. Next, apply 8-10 mm float coat of Coarse stuff unhaired. Lightly scratch to provide a key for the final lime skim. Leave to dry and cure until green hard. Apply Fine Stuff in two passes totalling 3 mm for the topcoat skim. If shrinkage cracks appear, lightly spray the plaster with water and trowel or sponge them out.